Earlier this week, I showed you how to make stripes the old school way. Today I'm going to show you a shortcut with high tech tools. If your doing more than one wall, this is such a time saver!
This is a Dewalt Self-Leveling Line Laser. I know, it sounds pretty fancy, but if you are a
do-it-yourselfer, this is a must!
do-it-yourselfer, this is a must!
Using this awesome tool, will save you from marking all the lines, all the way around the room. It's also useful if your doing a large series of stripes on one wall.
There are several mounting options, which include different kinds of tripods or mounting tools. The coolest thing is you don't need all of that, it has a magnetic pivoting bracket on the back, so you can just attach it to a ladder, or any metal surface.

.
Here is how it works, on the side of the tool, there are two buttons...
One for a horizontal line.
One for a vertical line
The really cool thing, is that you can have them both on at the same time. If you were marking out squares or diamonds, this is a must have tool!! This would also help with hanging a gallery art wall, or even getting curtain rods hung straight.
Even if your surface that you are placing/or attaching your level to, is not level, the tool will self level, even if it is bumped. Love that!
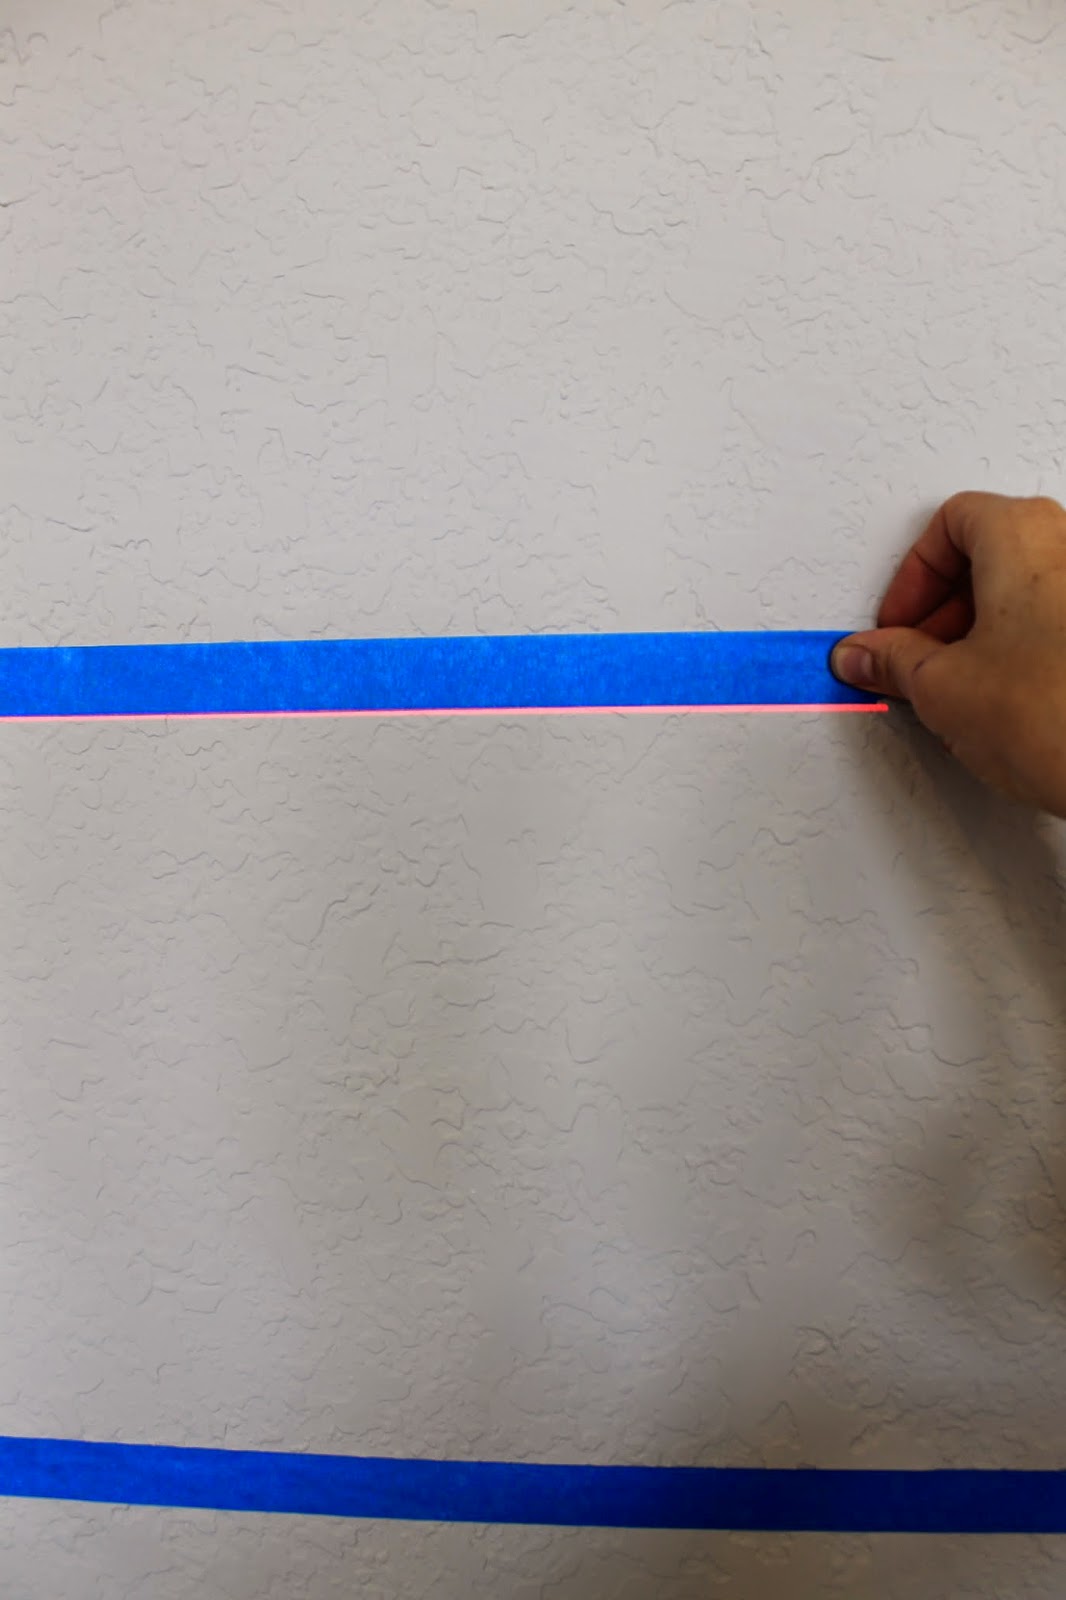
Here is what I did for this set of lines. I just sat the level on the rung of a ladder, the red laser line flows around a good portion of the wall, even around curves and corners!
Then, with no marking or measuring, I followed just above the line with the tape. This helps to make sure you are right on the line, and not over the spot you should be.
I used this same technique all the way around the room, to mask off my three stripes. SO super simple. I just rotated the ladder for each wall, or area, and it leveled right back up each time. I could even get the laser line to bend around these tricky corners below!
Here it is, all taped off.
You guys...this whole part took me under 30 minutes!!!
Normally in a room like this, I'm measuring, marking, and taping all three stripes for well over an hour.
You guys...this whole part took me under 30 minutes!!!
Normally in a room like this, I'm measuring, marking, and taping all three stripes for well over an hour.
For help on how to paint stripes, and the best way to get a clean line, be sure to see the previous post on "Stripes The Old School Way".
The final product, two colors, and three stripes, in the game room. This creates a nice flow around the room, and helps pull this large space together. You could use your favorite teams color here, or give it a punch with a brighter color for a more kid friendly space.
Dy Lynne Decor designed and decorated this fun area.
This would be such a great hang out for teens, or the perfect spot to watch the game.
I love the pool triangles display. They sprayed some of these pieces, to add more color.
Swivel chairs, and a side table make this space cozy.
On the other side of the room, is a wood bar, and a set of bar stools.
So there it is, stripes with high tech tools!
Super easy, and at around $150 at Home Depot, it's a great deal too!
Unfortunately for this project, I borrowed mine from a friend :(
But this is definitely on my Christmas list! Go get one!


No comments:
Post a Comment