Sunday, June 29, 2014

Lacrosse Bedroom


I've gotten some questions lately about boys room, more specifically sports rooms. Iv'e shown you several over the past year, but I haven't gotten to lacrosse yet. 
Some of you may not have lacrosse in your area, but you can use some of these ideas with other type of sports rooms. 

How fun is this room? 
This room was designed and decorated by Dy Lynne Decor. This model home was actually a move over, so it is the second time I painted it :) Good thing I like it. 
The logo I painted, is from the local college. 
All the walls in the room were painted in a deep blue. If you are designing a room around team colors, or logo, pick your tones carefully. You don't want a bold color all over your room that you can't live with daily. You can always pick a neutral color for the base of the walls, and put your punch of color on just one wall.
 The stripe of orange, on the main focal wall, was best big, so the logo could fill the space.

For the bedding, keep it simple. Sticking with 1-3 colors that are in the rest of the room. You want the logo to be the focal point, not the bedding. 
I painted two pieces of custom lacrosse art for the room. One was hung over the bed, the other on a side wall.


Instead of using a curtain rod here, above the window, they placed a lacrosse stick to hold the curtains. If you were doing a baseball themed, you could put two bats end to end, and use them as a rod. 


This fun orange leather stool, helps lighten the desk area.


You don't need alot of art in a room like this. Here, the lacrosse sticks hung around the room, act as the art. 


The lacrosse sticks are very simple to mount, and hang with just one screw.


The logo is obviously the main focal point of the room. If the logo you are using doesn't have alot of words, or doesn't specify the sport, use the space above the stripe, to add it.  


So how to paint the logo?
Well, the first time I painted this room, in the other model, I free handed to whole thing, and that's alot of work. 
If you don't have the experience, I wouldn't attempt it. 
For this go around, I used my projector. I know it seems a bit like cheating, but when you need to do logos, they should be exact. So this is my go-to method for these areas.  I use a modern projector, one I can plug into my computer, but for years I used an old school projector. If you can get your hands on one, this is a simple method. 
If not, you can have the logo printed out at you local copy shop, in a large scale. Then you just tape then together, and tape it to the wall. The easiest way, to get you image to the wall, is to take a piece of chalk (sidewalk chalk is soft and works best here), and rub it all over the back of your paper. When you start to trace the image, it will imprint the chalk to your wall. just be careful not to smudge your lines when you start to paint. Here, I painted all of the blue first, and went back in with the white. Some spots may need more than one coat of color.....especially the dreaded orange, not my favorite color to paint with :)


For the logo, try to use it in scale, if you have a big empty wall like this, keep it big. If it is going above a bed, make sure it is the right proportion for the space. You can add a circle around the logo, or a stripe to make it appear bigger as well. The possibilities here are endless, pick a team you child plays on, a local team, or even a nationally known team, in any sport. 

And that is all it takes, some color on the wall, a logo, and some sports themed art pieces. 


Here are a couple of other sports themed rooms I've shown you recently.


Monday, June 23, 2014

Checkered Niche Wall Treatment

Niches can be hard places to decorate. Some times they go to the floor to ceiling, and sometime they are only a few feet tall.
So what do you put in them?
How do you paint them?
I have painted many niches in my line of work, and today I wanted to show you a fun, and colorful technique.
This faux treatment would work really anywhere, on any type of wall, and in any color.
In this room, this space was a blank hole. This is the perfect opportunity to add a real punch of color, something that really makes a statement. Since the niche is only a small portion of the wall, you aren't really committing to a giant wall treatment.
Keep reading for the full how to, and be sure to check back for more nice ideas over the next couple of weeks.


How-To
To start, I painted the niche in a chartreuse color. You can pick any color here really, but use something that may not be in all of your decor, something that will pop.
Next I measure off the space, marking 6" squares. I went ahead and added the tacks, at all of my intersection, to keep track of my squares.
Then I taped off the sections I was going to be painting. I added a small piece of blue tape to the inside of squares I wasn't painting, just to keep me on track, when your right up on the wall you can easily loose track of where you were. 


For the finish on the checkered squares, I tinted a metallic plaster to match the color of the base paint. This is a tone on tone checkered look, so I kept them both in the same color.
 The metallic plaster I used is from a specialty faux paint store. For something similar at you local paint store, try Sherwin Williams Quartz Stone. This material can be tinted in  many colors.
For a tone-on-tone look, start with the plaster color first, and match a base paint to the plaster. They can even custom match your paint to your plaster in about an hour.

The material is basically a very thin plaster, with a metallic glimmer to it. You can also add a bit of water for a thinner version, but it is pretty easy to work with as is.


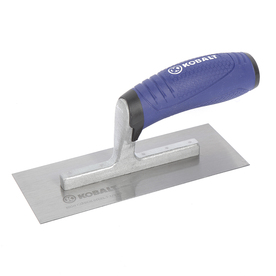
I use a flat trowel like this one, mine is a faux finish trowel, and has curved edges, but for this project your working in such small areas, this wont make a difference. For bigger surfaces, takes a sander to the edges of the trowel, to curve the edges. The sharp corners here, tend to leave lines on plaster finishes. 
Kobalt 7.5-in Midget Trowel
Kobalt 7.5" from Lowes
Use small amounts of the product each time. Putting it on the edge of the trowel will give you the most control. 

Start at a corner, a sweep across each square. Don't worry to much about the application. Once the square is filled, go back over with the whole thing, with edge of the trowel to smooth it out. Keep the rest of the trowel just slightly off the wall, you don't want it flat on the wall. See the photo below.

The finish will have a little texture when finished, it's not meant to be perfectly smooth, so its hard to mess this one up. 

Then just remove the tape.


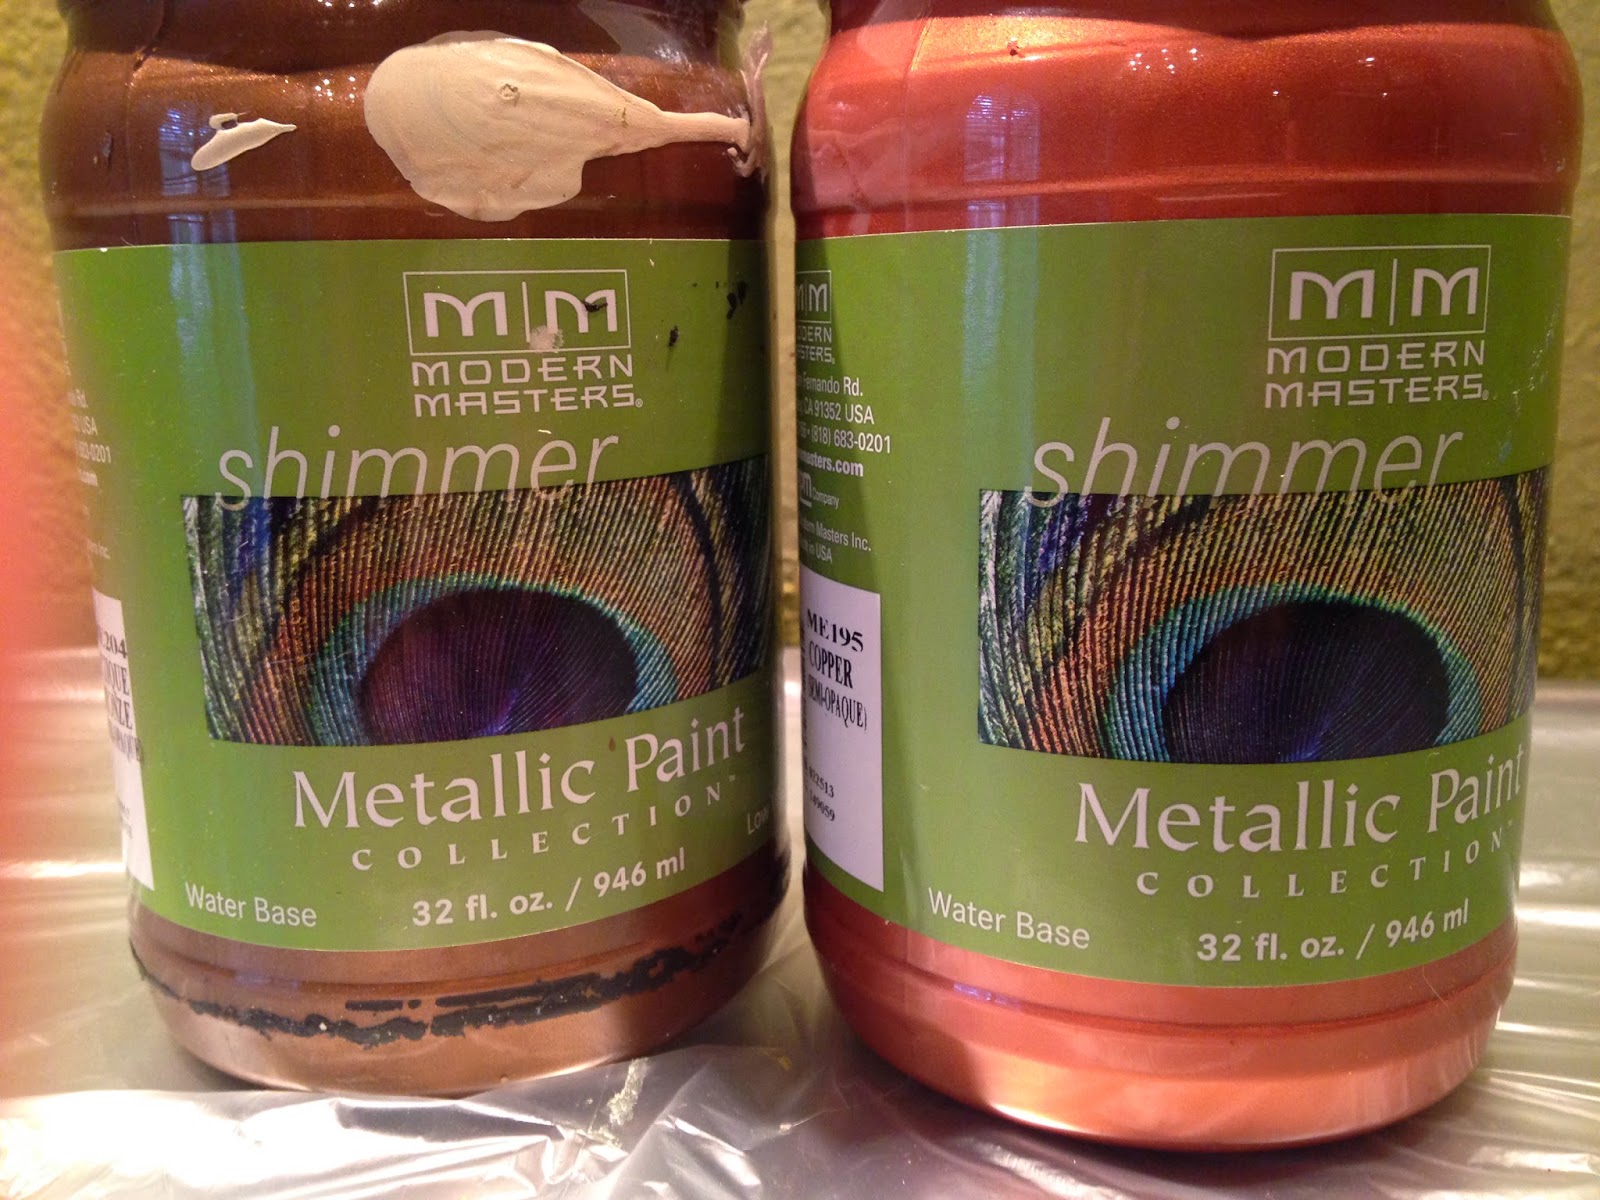
For the tacks, I wanted them all to be in a antiqued copper color, so originally I painted over all of them, since they didn't match. I used two colors of Modern Masters Metallic Paint, in Copper, and Statuary Bronze

You don't need much of this, even some small tubes of acrylic paint would work.

I mixed a little of the bronze with the copper.

Using a small brush, I covered the surface of the tack.

You may need two coats, depending on the color of the wall, or the tack you are using.


Pretty simple technique, you could do this on a larger scale, like on a full wall, or in a bathroom. 

As for the color, this may not be your preferred shade....use something softer for a more glam look, like a gold on gold. For a modern space, you could even use shades of white. This metallic plaster is so gorgeous in red, if your willing to go that bold.


In this room, there were fun pops of color all over the place. The color for the wall, and treatment were chosen form the this beautiful burnt velvet sofa fabric.

The metallic plaster when dried, has the same sheen as this velvet, very multi-dimensional. It was the perfect addition to the room.


The home owner hung this beautiful art piece in the niche. I painted the frame to mach the tacks. I love how he hung this. It was anchored to the center of the niche, so it sat away from the wall. It almost looks like its floating. Much more intriguing than sitting flat on the wall. The can lights were placed behind this, so the wall glowed. Not easy to get pictures of though. 


Don't be scared of the color, do it in whatever works for you, and don't be scared of the finish. 
Try new techniques and materials out, you'll be so proud when your done!!!

Ill be showing you some other fun things to do with niches over the next couple of weeks, so be sure to check back.

Tuesday, June 17, 2014

Kitchen updates


So if you haven't seen my kitchen before, we have a very farmhouse-meets-beach house style. It started off as your boring, and dated builder grade kitchen. We came in, and gave it a complete overhaul. We added an additional cabinet, made faux reclaimed wood counter tops, added a backsplash, and beefed up the island. You can see where it all started, and how we completed it all here, and here.
I feel like Im always tweaking something at my house, changing it up, moving it around. I'm sure I'm making my husband crazy! At my most recent trip to the Round Top antiques fair, I picked up some fun goodies for the house. If you don't know about this show, you have to check it out. It's days worth of antiques, salvage, and reclaimed goodies. It goes on twice a year, in the spring and fall. If your any where near south Texas, or can there easily, it is TOTALLY worth staying in a crappy motel for. Last year I went with my aunt, and parents. This year I went with one of my closest friends and her mom. We stayed for three days, and didn't even see it all. Make sure to book early though, rooms fill up the year before in some places. We ended up at a bad motel, but margaritas in town and lots of shopping, made up for it.  


I try not to have to much on my counters, as far as decor goes. But it is weird having empty spaces on the counter, so there is something in most of the corners. 

I love to bake, so my mixer needs to be front a center. And hey it's the perfect shade of blue, so it's decor as well. I grabbed some different sizes of jars, at the Container Store, and filled them with my necessities. These days chalkboard stuff is everywhere, but I picked these up some time ago at World Market. They are just chalk board stickers. Micheal's, and Hobby Lobby carry several similar versions. 


For something a bit cleaner looking, check out this awesome tutorial on The Painted Hive, for these water slide decals.

Also check out these easy, and free printables from Lia Griffith. If you need any sort of label, tag, or sticker, she is sure to have an amazing selection.

Both much nicer, and fancier than mine, but free time, is not something I have much of these days. 


One of my favorite Round Top goodies this year, was this "Black Metal Thingy". Yes, this is the technical term, for now anyways. Most likely a time card holder, but I havent bothered to research it quite yet. If you know...let me know :) 

It has spring loaded holders, and I thought it would be great to display little notes, or cards. You could change the items out for the season. It fit perfectly over the stove, I just hung it with some fishing line to save the back splash from holes.   

Another find, was this fun little pot. I needed something to hold spoons, and one that would fit on my little plate. It's missing a lid, which I wouldn't have used anyways, so it was the perfect piece. 


Finding this chalkboard was a happy accident. I searched high and low last year, while shopping with my parents. I was looking for a cool old cutting board. I couldn't find one that wasn't the same color as my counter, or not shaped like a pig. As we were loading up our treasures on our last day, my mom spied this little guy. It wasn't old, but it was the perfect piece. It has more character than a plain old cutting board anyways. 

I made an attempt at some chalkboard art, with a quote from Julia Child. 

At one of the very overpriced areas of Round Top, I found some old silverware molds. I won't admit how much I paid for it, but I had to have it. It weighs a ton. I love the aged look of it, and the half of a cool old pattern. I'd love to find a piece that actually matched this and have it sitting on top. Maybe on my next trip. 

The scale was from a great little store in Colorado, but you can find these all over the place. The top was pretty small, and it really served no function. I don't need to weigh stuff very often...ok never! 
I found a small basket, and my husband attached the two together, now it serves a purpose, and looks good doing it. 


Well that's it for my kitchen goodies. I'm sure it will all change soon enough, it's a bad (and expensive) habit.
Next week, I'll show you what we did with the cabinet we added onto the kitchen!

Here are some previous pictures of our kitchen, be sure to check out the step by step tutorial on making these easy and inexpensive counter tops