Saturday, August 31, 2013

Knock-Offs


Have you ever been to a store, and see a cool piece of painted furniture, or a piece or art, or a fun craft, and said "I can do that"?
 
Well you are not alone. Which is the reasoning behind Pintrest im sure, saving a pile of 
I-will-do-that-one-day-when-i-have-time-or-the-creative-ability.
 
Here is one of my knock-offs. These are canvas art pieces from Pottery Barn Kids. They had a zebra, and giraffe that were in boy colors, and a hippo and giraffe in girl colors. Pottery Barn no longer carries them but I believe they were $129 each. Right now, I have found them online in several locations for about $149 each. 
 
A client of mine, had me paint two of these for a baby shower she was throwing. It was a safari themed party, and these were going to be used a room decor afterwards. These were fun to paint, simple colors, and basic detailing. I just purchased a roll of canvas from Micheal's, cut to size, painted the background colors, and then painted the zebra and giraffe on top. When I painted these, I used an unprimed canvas, I now use a primed canvas roll for any projects like these, it's a bit more solid and paints much better. I used acrylic tubes of paint purchased form the craft store. They dry much fast than the latex paint from a home improvement store. 

These were made for less than half the original cost. You could use this same idea, of a canvas cloth, painted with any sort of design. There's a dowel glue to the top, the rolled. You could attach rope, twine, or ribbon to the top for hanging. Pick something that goes with the type of painting your doing. 

The original art from Pottery Barn Kids 
 
 
"My version" of the zebra,  during the process

"My version" of the giraffe, during the process

 
Here they are displayed at the baby shower.


Want one? Or something like it? Let me know!

Friday, August 30, 2013

Football

Football season is just around the corner. Next Thursday kicks off the NFL's opening night, and College games start this weekend. At my house we watch a good bit of football... Mostly our team, Monday night football, and occasionally a rivals game.  

I decided what better way to throw a football party, than with your very own mascot. Here are just a few I have listed on my shop so far.... Many more to come. 

Unfortunately my San Diego Chargers don't have an animal mascot. Needless to say, my husband was NOT thrilled when he saw me making these, you never know what could be bad luck :) So just for the record.... I have not changed teams! GO CHARGERS!


Miami Dolphins


Detroit Lions


Philadelphia Eagles


Colorado Buffalo's


U.S. Navy


 I'm making more team mascots....Have any suggestions, let me know


Monday, August 26, 2013

The Wild Things

When I think back to my childhood, one of the most memorable books was, "Where the wild things are".


 I loved the monsters, and the idea that the whole book was based around his daydreaming while in time out. I may or may not have spent a bit of time in my room growing up.  I have always wanted to paint a mural with these characters. I finally got my chance, when one of my paint addicted best clients was game for it. 
We spread out the mural in several areas. The main wall where the crib was, I put the boy and a monster swinging from the tree. I also gave him curly blond hair to match the boy who's room it was. 


This cute horned guy, I put on an opposite wall standing by the rocking chair. 


In the bathroom there was tile up the wall to about 4 feet. It was for the perfect space to do the ocean part of the book. The waves went all the way around the room. There were stars and a moon in the sky. I out the boys name "William" on the boat as well.


Over the toilet was this firey fella. Love his goatee! 


Even though it's very story book, this is still one of my all time favorite murals!


Sunday, August 25, 2013

Oven Pancakes


Last week when having lunch with my friend Paige, we started talking about the Barefoot Contessa, Ina Garten. I was telling her about my favorite recipe, Tri-berry Oven Pancakes, from the Back To Basics cookbook.  


. I've been thinking about it ever since and HAD to make them. We both love her recipes, Paige records the episodes, and makes them, I love that! I don't have enough time or the patience for that. Which is one of the reasons I love this recipe so much, it's simple, but looks fancy, and all in under 20 minutes. This is a great recipe when you have company staying, because it looks like you went to alot of trouble. While they are baking you have time to make the rest of breakfast.

Here is the finished product.


The recipe, see below the recipe, for how I altered it

Tri-berry Oven Pancakes
1 Cup each raspberries, blueberries, and sliced strawberries
1 tablespoon granulated sugar
2 tablespoons unsalted butter, melted, plus 4 teaspoons for the dishes
3 extra large eggs, at room temperature
1/2 cup milk
1/2 cup all-purpose flour
1 teaspoon pure vanilla
1 teaspoon grated orange zest
1/4 teaspoon salt
Maple syrup and confectioners' sugar, for garnish 


Preheat the oven to 425 degrees.

Gently combine the berries and sugar in a small bowl and set aside. Place 4 (6-7) individual gratin dishes on two sheet pans. Place 1 teaspoon butter in each dish and set aside. 

Place the eggs the bowl of an electric mixer fitted with a whisk attachment, and beat on medium speed until mixed. Add the milk and combine. Slowly add the flour, vanilla, orange zet, 2 tablespoons of melted butter, and the salt and mix until smooth. Whisk by hand if the mixture is lumpy.

Place the gratin dishes in the oven for 3 minutes, until the butter is hot and bubbly. Make sure the butter covers the bottom of each dish. Immediately divide the batter among the gratin dishes and bake for 12 to 14 minuted, until puffed and lightly browned. Divide the berries among the dishes, drizzle with maple syrup, dust with confectioners' sugar, and serve hot.


Her version of course will come out perfect, as you see here...

Problem is I don't have gratin dishes. I tried to track some down, but the only thing I found for individual dishes were from Sur La Table, and  at $9.00 a piece, they were a bit pricey for me. So I decided to stick with creme brulee type ramekins. I bought 6, on sale they were about $2 a piece. Much more within my budget.  I fit 6 on a heavy duty cookie sheet. I still put the bits of butter in each dishes, and melted it in the oven for a minute or two. 


When dividing the batter among the dishes, just use enough to cover the bottom plus a bit more. Half way full is to much. The bottom gets to doughy if you put to much in . I always have left overs with 6 dishes, you could use seven of the dishes, and it would be perfect (and your going to want more than one of these). 


I put it in for about 15 min, but keep an eye on it. It puffs up a couple inches, so make sure your racks aren't to close together.  
Half way through cooking
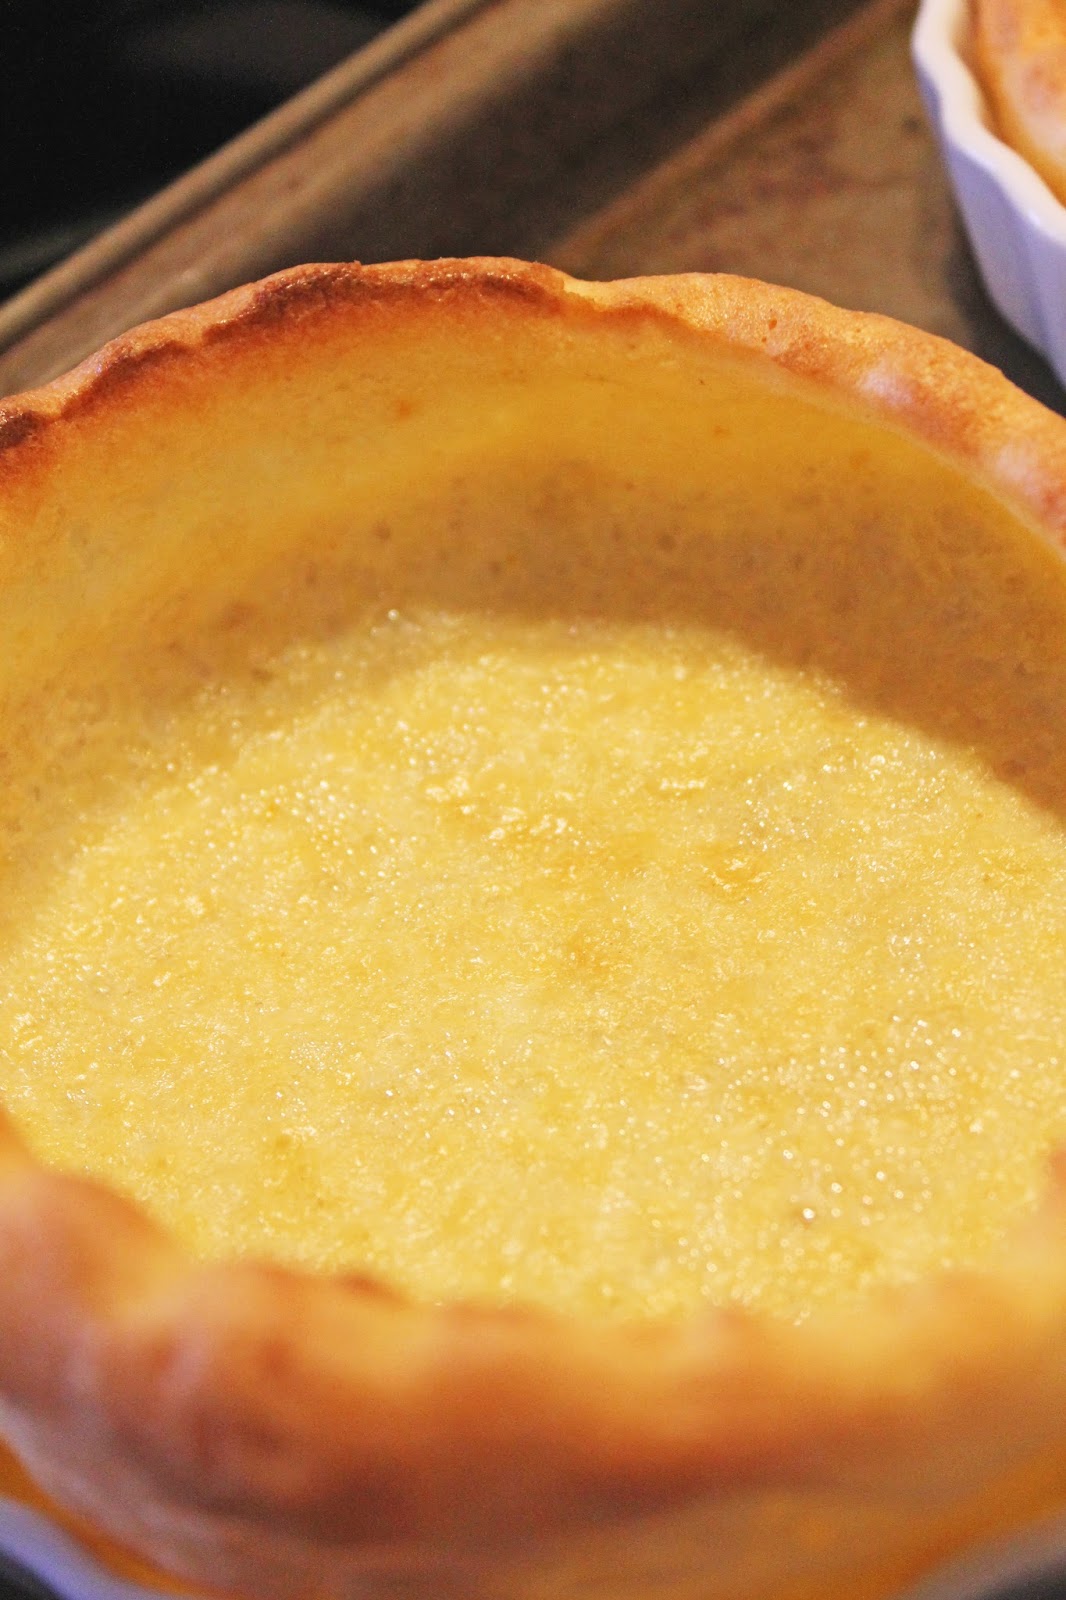
Done cooking


When they come out, the inside on the bottoms looks a bit bubbly, but as long as it's not giggly its done, the edges should also be a bit toasty and browned. 


Take them out of the dishes right away, or the bottom starts to stick. Plate them, fill them, and dust some powdered sugar on. It couldnt be easier. I did forget the oranges on one occasion, not as good... DON"T forget the oranges. The zest is vital :)


My family loves this recipe, It's a very light dish. The pancakes are very airy, so there's not as much guilt!!
Try it next time your family is in town, or when your making a brunch for some friends, and its so simple, even just for the kids on the weekend. 


Saturday, August 24, 2013

Entryway Makeover


I've always wanted a grand entryway. In the beginning this space in our house, was anything but grand. There was lots of tile, and a yucky green wall, and check out that light fixture. When Terry took it down he asked me if he should post it on Craigslist, you can imagine the look I gave him. I tried explaining that it's total value, was less than the light bulbs still in it. The tile was a total pain to get up, and a HUGE mess. That was all taken up when we put down the wood floor. I put down a long woven runner with fringed ends, from Ballard Designs. The doors on the right are to my very unfinished craft room.

In the beginning...
Entry Before
Entry After
The Sailfish started off as a joke. My husband said not to go to "beachy" with the house, so while at a antique store with my sister-in-law, we ran across a Sailfish. I sent a picture to my husband, who I was sure would tell me I fell of my rocker. When I told him, it already had a sold tag on it, he was REALLY upset. I was pretty sure he was kidding, but by the time I got home he had found one on Craigslist. The next morning we hitched up a trailer, drove to Austin, and picked it up. He was the perfect addition to our house, "Captain Jack". 

Entry After


This was a piece my husband found on Craigslist, another good deal. It was very well built, with thick glass doors, and weighs a ton. I painted and gave it a good sanding. 

Entry Table Before
Entry Table After

The lighting was a fun find. I was browsing through my favorite antique shop, and there was a stack of these old, and yellowed lamp shades. The edges had a fun braided trim, and they were scalloped. The size was right, and at $10, the price was right. I took a razor blade and started just under the trim and cut off the fabric part. I was left with the frame, exactly what I wanted. My hubby attached it to a light kit, and on the very top rung of the ladder, on top of the scaffolding, installed it....VERY carefully. 

Lighting Before

Lighting After


Now I have grand entryway!


Friday, August 23, 2013

The Old House

 My husband and I bought our first house together, back in 2008. It was on the north side of town, great school district, but track homes. To make sure our kids went to a good school, we sacrificed the love of old house character, for giving it character ourselves. We took the place from a NASTY abandon rental, to an updated house. It was alot of work, but with only one child at the time, it was do-able. Thank goodness my husband is extremely handy. When we expanded our family and our crap possessions, we had to find something bigger, and a better fit for our family. We sold the house in January of 2013. 

Here are the before and afters...

Before
After

The back yard was pretty bad. The day before we looked at the house, a huge storm had hit, and tore off half of one of the oaks in the backyard. There were very overgrown Red Tips lining the back fence. Behind the fence was a "green-belt" which here, is just a giant creek bed. So while it was quite, and no one was behind us, we had lots of creatures....Opossum, raccoon, squirrels, coral snakes, all sorts of snakes really. We finally cut the red tips down, put up bamboo, and chicken wire to keep the snakes out. We built the 16' x 20' deck ourselves, over a weekend, plus a couple afternoons. That's what you can do without little kids running around. The back yard was pretty small, so we went ahead and got rid of most of it. We permanently put in an above ground pool since our neighborhood didn't have one. 


Backyard Before
Backyard after

Back yard after


Backyard After

Backyard After


The living room was Berber carpet (plus a  few hair balls). All of the flooring came up, even upstairs. Every wall, ceiling, door, and piece of trim in this house was painted. 

Living Room Before
Living Room After

Living Room After

The salt water tank, was one of our favorite things, and my husbands hobby. There was large weird hole between the kitchen an living room, so we placed the 150 gallon tank in front of it.  You could see right through.  We built it into the wall with cabinets. He got really into growing corals, and having exotic fish. It was amazing to see all angles of the tank, and it looked amazing. Unfortunately we sold it since we weren't sure where we were going, and didn't know what size we would want when we got there. We still don't have a replacement, since time is not a luxury we have right now. 

Built-in Saltwater Tank


The kitchen was just sad...It screamed paint me, the moment I walked in! The fridge on the other hand, screamed throw me out. The renters had just bailed on the place, with food still in the fridge. With no power,  you can imagine what it smelled like. My dear friend was sure she could save it, alas it went to it's final resting place. The cabinets got a faux treatment, a two-toned sanded down look. I also faux finished the counters. We knew we were only staying a couple years, and didn't want to invest in granite, knowing we wouldn't get the return on investment.

Kitchen Before
Kitchen After

Kitchen After


The dining room was spruced up with bead board, to make it look larger. I matched  it to the cabinet finish.

Dining Room Before

Dining Room After
The Bathroom was my favorite place in the house. It was a lot of work, even in this tiny half bath. It was a layered, crackled and chipped, plaster finish. It looked so tropical and worn, I could have just slept in there :)
Bathroom Before

Bathroom After

Bathroom After

In my daughter's room, I let her pick what she wanted... A castle with a moat, she sort of got what she wanted, with a lake instead of a moat...who REALLY needs a moat.

Ashlyn's Room After


Guest Bathroom Before

Guest Bathroom After

Guest Bathroom After

My sons nursery, was a modern woodland room. The walls were painted a green color. We had a modern 2-tone crib. The curtains were hung on branches painted white. We found a fun rocker chair at Ikea, it had branches and acorns on it. I found a stroller blanket at Dwell that gave me the theme for the whole room. I painted tree trunks, and owl, and a  fox in the room. On the branches of the tree, I put leaves cut out of different pieces of scrapbook paper.
Braeden's Room Before

Woodland  Nursery After

Woodland NurseryAfter


Woodland Nursery  After


In the master bedroom I used a suede material on the wall, and hand painted a design above the bed. The ceiling was faux finished as well. 

Master After

Master After


Looking back at these pictures, the house seems so tiny. It worked for us at the time, it was a great house to start our family. We had fun transforming this house into our own, but we were very ready to find a new place to work over. Look for pictures of the new house soon.