Hey all, I hope you are staying warm wherever you are. We keep getting cold snaps down here, between 70 degree days, and I'm SO over it. So I can only imagine, that those of you who are getting dumped on with all that snow, have had enough!! Time for a vacation to a warmer spot, right?
So a quick reminder, the giveaway end this Sunday...So be sure to sign up!
It's super simple, just click the "Use your email" button below. Don't worry, we don't distribute your email address, and I promise we wont spam you:)
There are 4 ways to enter, the more entries the better your odds!!
Now on to more DIY projects......
I have been getting a ton of questions on the headboard so I wanted to show you the how-to for that first.
I took tons of pictures to walk you through it. Problem is, I usually end up working on projects at night, (in my only free time) so the picture may be a bit dark and hard to see, so bear with me.
To start your going to need a sheet of plywood. I had the guys at Lowe's cut this to size for me. Her bed is a double/full. I took the dimensions of her bed frame, 53" and added a few inches to each side. The headboard looks best when it appears bigger than the bed. For a queen, you could go with a 64" wide piece, and for a king, make it 80". For a twin, I would stick with 42" wide.
The plywood was not going to be tall enough to just place on the floor. So I added two legs with some spare wood I had in the garage. You could use really any width above 6". It will be sturdier with a wider board.
I measured out 9" on each leg, from bottom up, as the height to be mounted to the plywood. To determine the overall height of the headboard, it will really be a preference thing. This was for a teen, so it needed to be the same height for an adult. On a twin bed, for a child I would make the height lower. The scale of the room will also play an important part.
I used wood screws to attach. Make sure you check the length of the screws to the thickness of the two pieces of wood together. You don't want them poking through the other side.
Next, you will need to decide the shape of the headboard. My daughter was insistent that it not be a boring square shape. So I hand drew a notch off the corner. I ended up cutting it a bit differently that I drew it, but you'll need a starting point.
Any sort of jigsaw, or reciprocating saw will work. It will need to turn edges, so something smaller works better.
The cut.
To match the other side, just flip the spare piece over, and line it up on the corner.
Super simple.
Though, you could get very elaborate with you cuts, and make it very ornate.
The next step is padding the headboard. I purchased this roll of poly foam from Michael's during a sale. I got the foam and batting both 40% off
I decided to take the foam 2.5" away from the edge. Take the pencil and mark all the way around.
Then with a serrated knife, I cut the foam.
Adhere with a hot glue gun...YES, my favorite tool. This little guy has has helped make upholstery, Halloween costumes, crafts and more. If you don't have one....get one!!!
For the top piece I measure a long rectangle, going to the corner of my pencil marks.
To cut the curves, hold a spare piece of foam up and run the knife through while holing it place. Watch out for your hand :) It doesn't have to be perfect, just use the staring and ending points of the pencil line to create the curve. Always easier to take off less, and go back for more. It's harder to add foam on than take it off.
The next stage is to add the batting. This helps smooth out the foam, and soften the edges.
Lay the batting out flat on the floor, placing the headboard over.
Start with one of the sides, pulling over the back. Using a staple gun flat on the surface, staple in several different areas. I put some right along the edge of the plywood, and some further in so the batting lays flat.
Do one side, then the opposite side, making sure to pull from underneath to release any wrinkles. But not pulling so hard as to create creases.
Then I staple the top, again pulling tautly. After stapling the bottom, I finish off the corners.
Start in the middle, pulling straight back and stapling.
Then, pull the piece to the right and left of the center straight back, and again staple. Do this all the way to the edge.
Then I add a few staples closer to the edge of the plywood to hold it in place.
Repeat the process for the final fabric. Going in the same pattern.
Here is what it should look like.
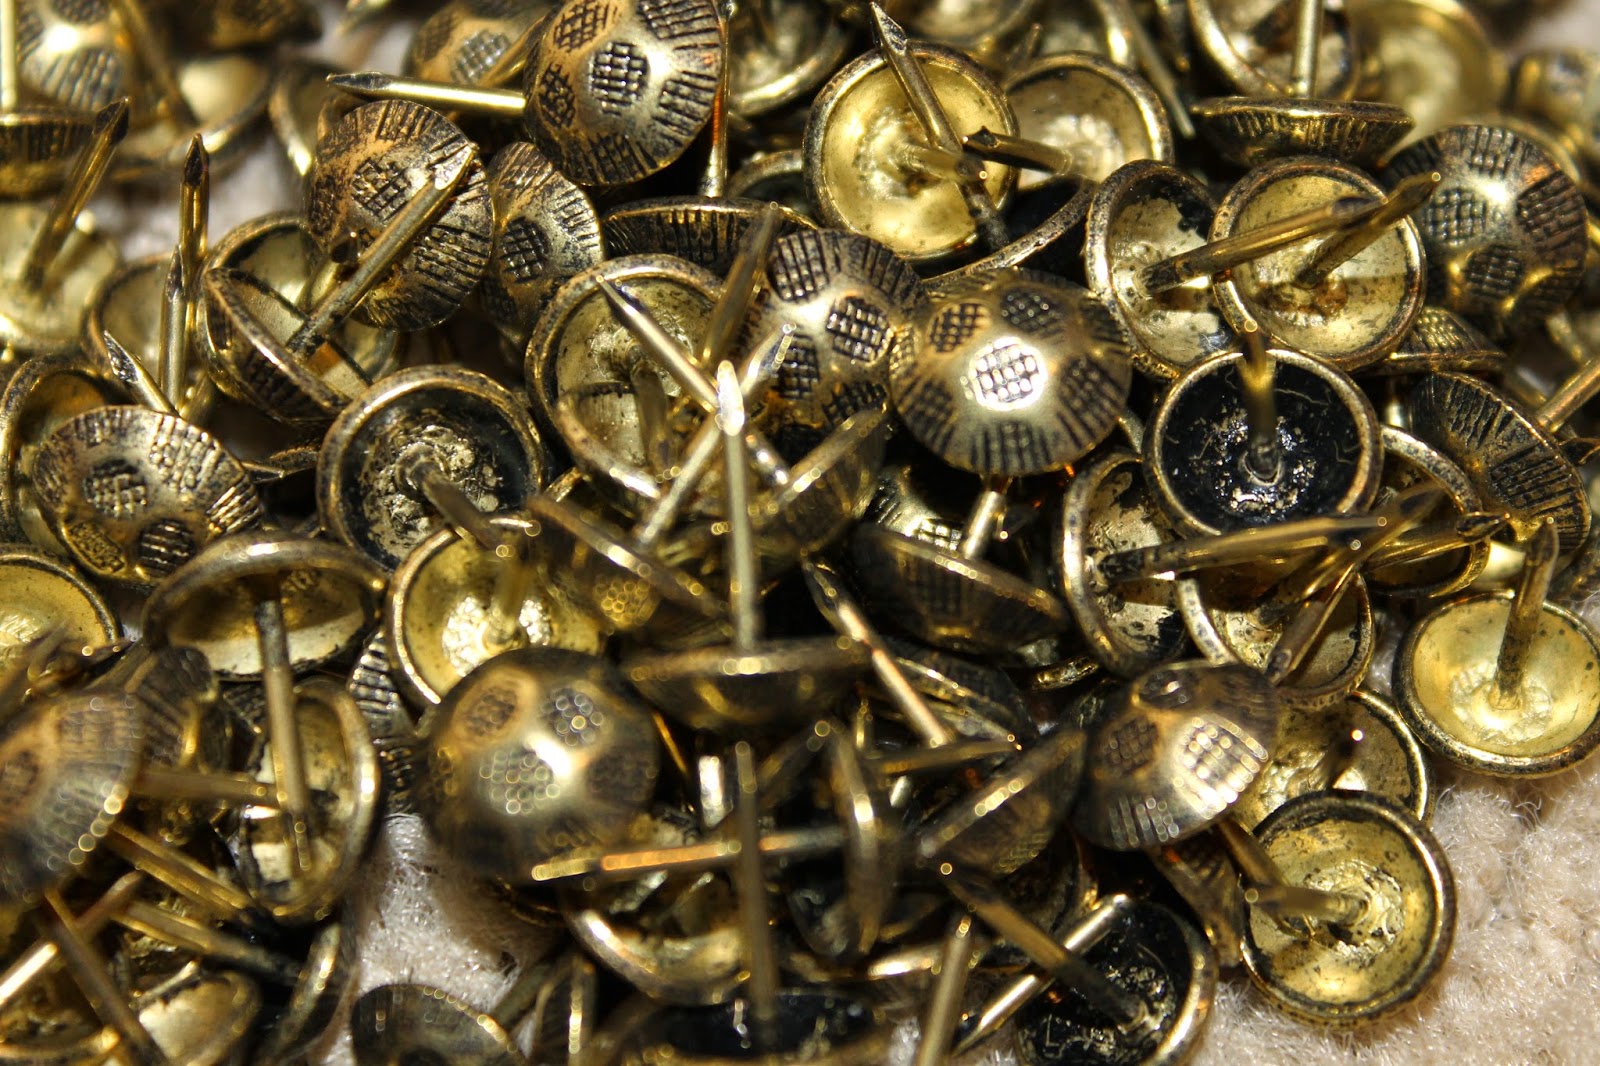
Normally on a project like this, I would use a strip of tacks. With that you add one tack into a hole every 5-10 "faux tack" pieces. I had a box of tacks left over from a job, so I opted to use these instead. I will say that this way is cheaper, but leaves ALOT more room for error.
Since adding the tacks right to the edge of the foam is tough, I added staples to help hold my fabric in place. I pushed the staple gun flat to the fabric, and slid it towards the foam edge. Then just added a staple every couple inches. This just gives you a smoother edge to add the tacks to. If you were using an strip of tacks, you could probably just go right over the staples and be fine. I decided to put the tacks just a hair in front of the staples, and then went in with flat pliers and pulled the staple straight out. The fabric and foam pop right back into place, and you can't even tell.
I say that a strip is easier because you don't have to worry as much about lining each piece up straight. Once I was done with a hand full of tacks, I went back with the hammer, and nudged them into a straighter row.
Then I pulled out the staples.
When attaching the headboard to the bed frame you can do it two ways.....You can mark, and drill holes through the legs of the headboard. Then add bolts and nuts, to keep in place. In this room, I just added some screws through the frame and leg. It does stick out a bit in the back, but it is butted up against the wall. I used two screws on each leg.
There ya go, super simple. Pardon the dark photos.
Here's what it looked like in the room.
The pillows, I custom made with fabric from Hobby Lobby.
The how-to for this cute little table is coming soon.
If you haven't read the full room post,
HERE, let me explain this room.
This is in a temporary apartment, and we couldn't do things that were too permanent, or things that would be expensive to change later.
This room was very budget friendly!
The shape of the room is very awkward, which really dictated the layout and amount of furniture. It is also very small, but tall. So I had to stick with the white wall, since I didn't want to be repainting that later. I used pops of color, and simple treatments, to make this room feel homey and fun.
The stencil wall treatment, was easy to do, and adds a fun touch to these boring walls.
Find the How-To's Here.....
Painted Laundry Basket, Painted Mirror


